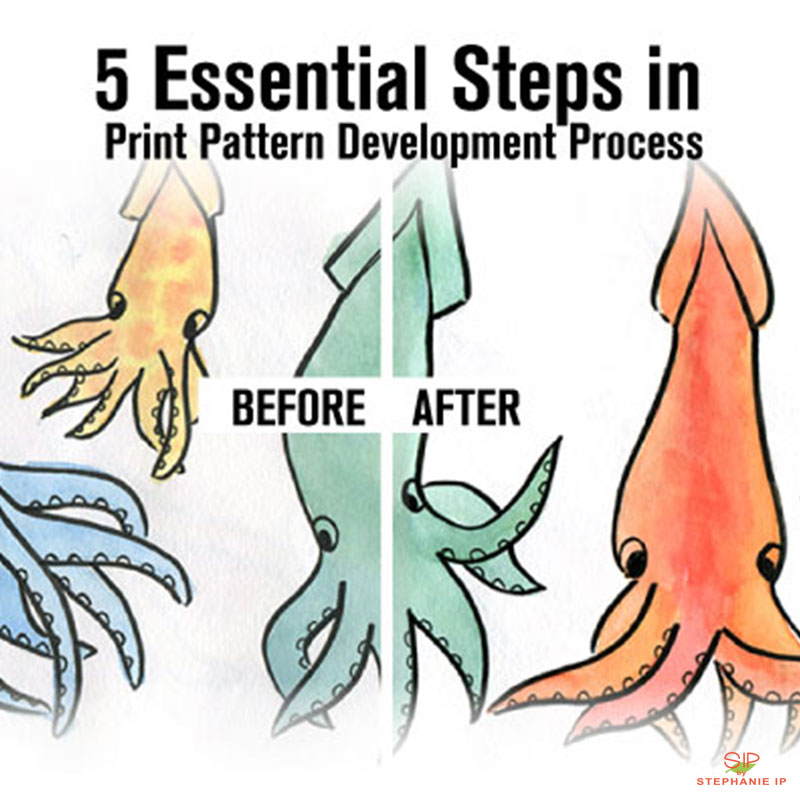
Are you passionate about anything in repeats? I used to dislike print patterns on clothing, thinking they made the wearer look old and boring. That was probably back in the 90’s, when I didn’t have much appreciation of anything but simple, plain, minimalistic designs. Print patterns have evolved tremendously over the past 30 years. With the advanced designing tools, designers have much more opportunity to experiment and discover new design techniques.
In today’s post, I am going to walk you through the 5 steps I took in making the Under the Water group in #100PrintsByStephanieIp – a creative challenge I set up to encourage myself and other fellow creative individuals to create everyday. You can see more on the related tag on my Instagram page @SIPbyStephanieIp!
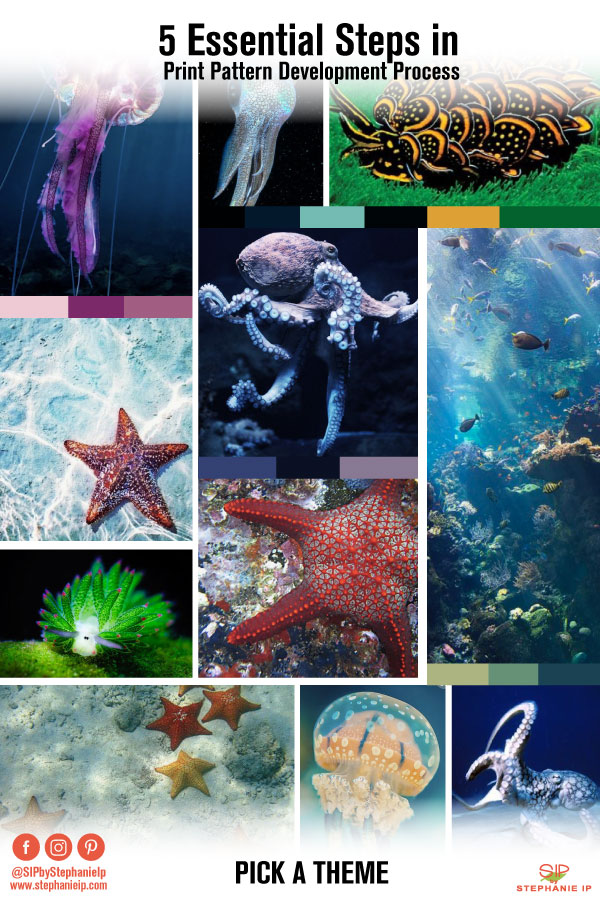
1// Pick a Theme
The print(s) you plan on applying onto your product(s) should have a theme that will stand out and complement your product design styles. Under a set of design considerations, you want to choose a targeted season, a color palette that makes sense, and materials you plan to print on.
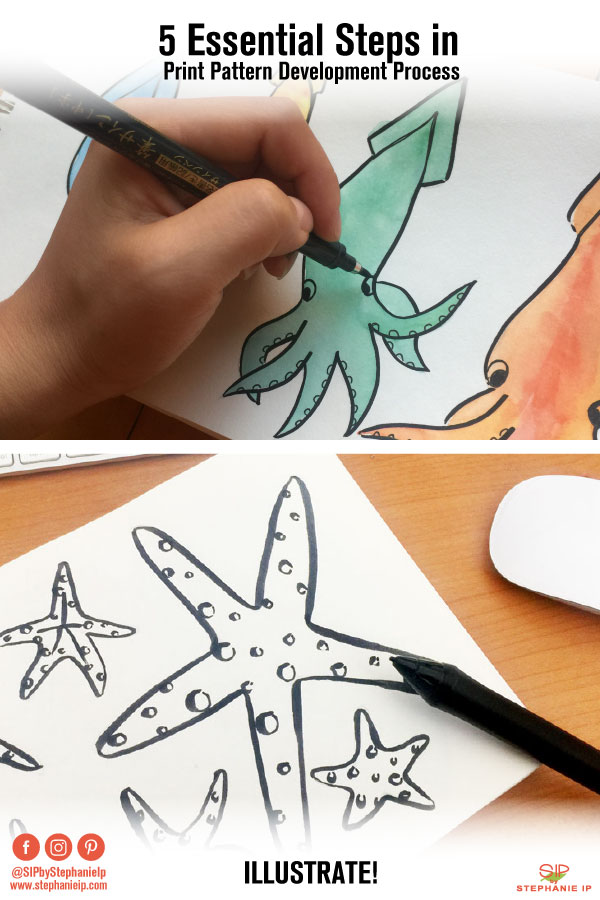
2// Illustrate and Pull Together Design Elements
This is one of the most fun parts! You get to play and be creative with the types of elements you want to incorporate into the design. For #100PrintsByStephanieIp, I was exploring watercolor design elements, which gave me the opportunity to try out different watercolor painting techniques. For more defined elements, I like to sketch by pencil first, then trace with Adobe Illustrator. In this part, make sure to illustrate each element separately on a large scale to display the element’s quality.
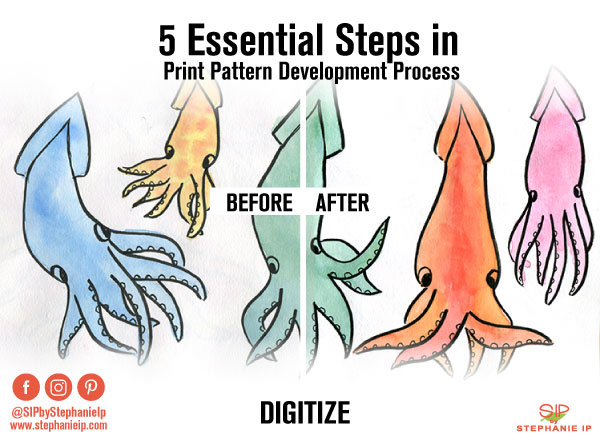
3// Digitize Design Elements
Once you have all the elements down on paper, you’ll want to scan them onto your computer. To preserve the quality of the elements, you want to be sure to scan using at least 300dpi resolution. Then, with Photoshop, clean up the scans, adjust the coloration, and make sure each of the elements are separated for easy composition.
Another fun part of this process is putting together the artwork! Now, with the clean elements, you can play with composition and arrangements. Have fun!
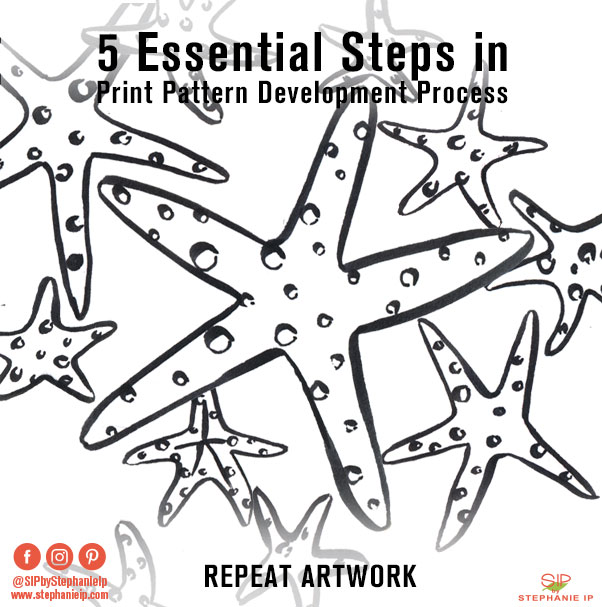
4// Repeat Artwork
Generally, I use Photoshop and Illustrator to create the repeats of my prints. Photoshop is better when the artwork is composed of photo-based elements. Illustrator is more for vector-based elements. For this post, I won’t be going into the details on how to repeat a piece of artwork. If you want to learn more, stay tuned! It will be coming up soon.
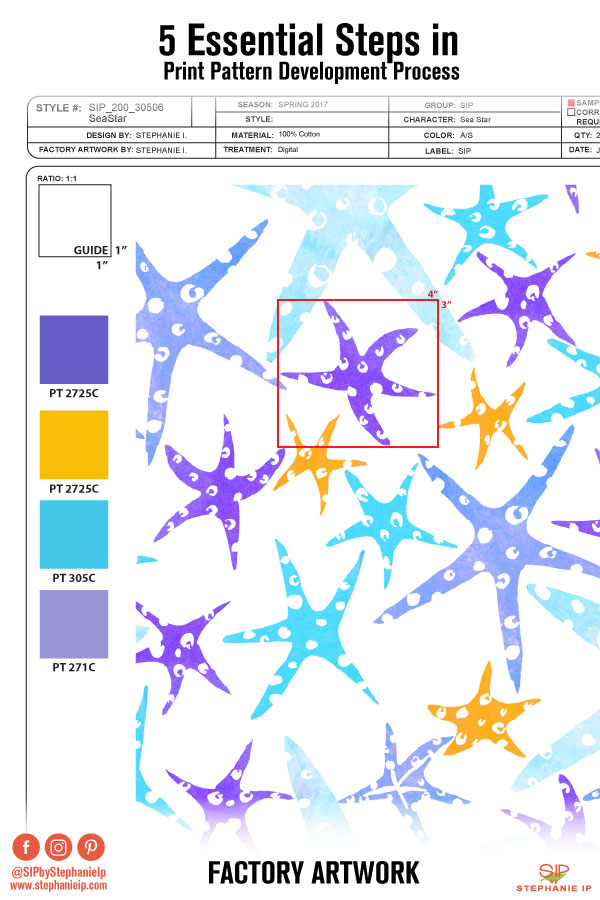
5// Factory Artwork
A factory artwork is fairly similar to a tech pack, except the information to include is less complex. On the factory artwork, you will have to include print method requirement, scale, Pantone colors, and print # for the factory to prepare the first sample for your review before production.
While there are more details to consider in these 5 steps, this post is to give you a general idea of what’s needed to get you started!
Need some custom print patterns?
Send us an inquiry to get started!

// Stephanie Ip

Stephanie is a Creative Director and Consultant, providing creative strategy development support to small and large scale businesses in the industries of Fashion and Soft Goods. She specializes in Design and Development. Learn more about her here.
More Posts | Facebook | Instagram | LinkedIn